

(Setup Guide) JTECH-EX-4K30IP - 4K 30Hz HDMI Extender over Ethernet w/ Audio Extraction
- Categories
- Product Guides
- Published
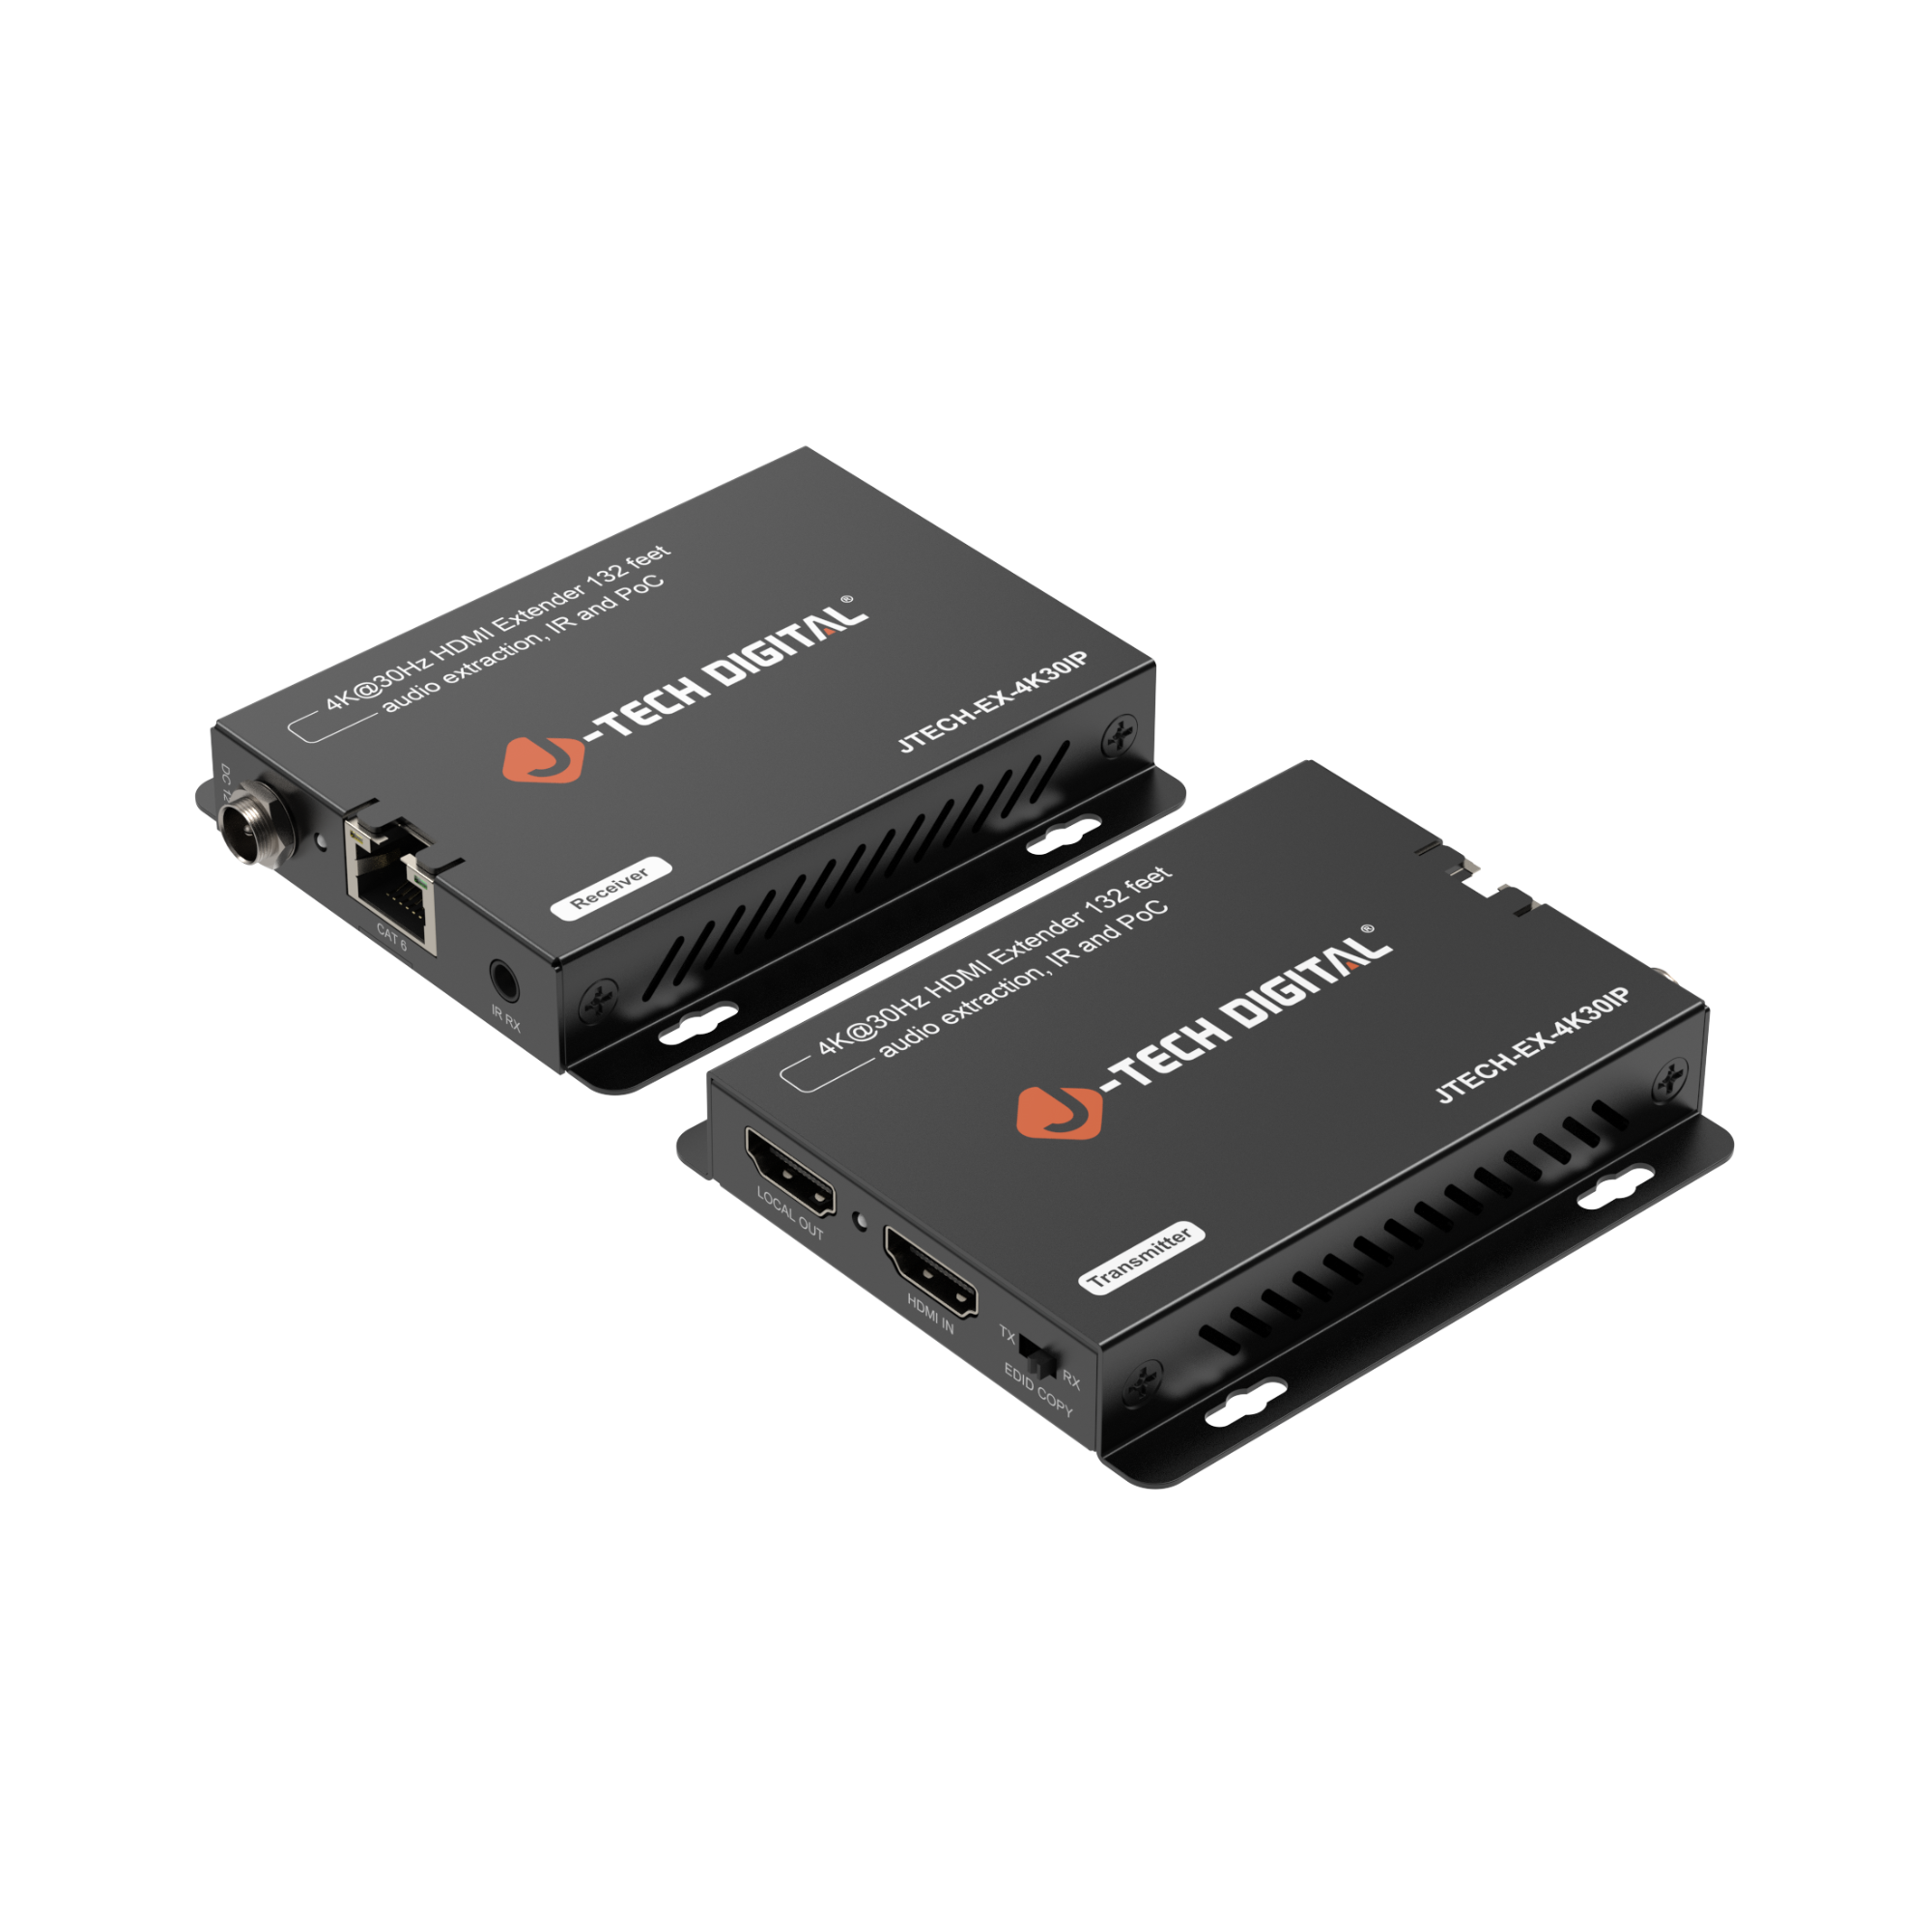
Extend your 4K HDMI signals to long distances with this HDMI extender over single ethernet Cat6/Cat7 cable
How to Set Up Your J-Tech Digital JTECH-EX-4K30IP (JTD-3183) 4K 30Hz HDMI Extender over Ethernet w/ Audio Extraction, IR, & PoC
Product Link:
https://www.jtechdigital.com/products/4k-30hz-hdmi-extender-over-ethernet-w-audio-extraction-ir-poc
Looking to extend your 4K HDMI signal over long distances without sacrificing video or audio quality? The J-Tech Digital 4K 30Hz HDMI Extender over Ethernet with Audio Extraction, IR Control, and Power over Cable (PoC) is the perfect solution for home theaters, conference rooms, classrooms, and digital signage applications. This reliable extender transmits ultra-high-definition video and audio signals over a single Ethernet cable — with built-in audio extraction, remote IR control, and PoC for hassle-free installation.
✅ Supports 4K UHD Video at 30Hz
Transmit crisp, clear 4K (3840x2160) at 30Hz video over a single CAT5e/6/7 Ethernet cable without latency or signal degradation.
✅ Audio Extraction Function
Separate and output audio signals from the HDMI stream to external speakers or audio systems, making it ideal for integrated AV setups.
✅ IR Pass-Through Control
Use your device’s remote control at the display location to operate your source device with full IR signal pass-through, eliminating the need for additional remote solutions.
✅ Power over Cable (PoC) Technology
Simplify installation with PoC, which powers both the transmitter and receiver units through the Ethernet cable — requiring only one power adapter.
✅ Extend HDMI Over Ethernet Up to [Specify Max Distance]
Transmit HDMI signals over CAT5e/6/7 cables across long distances (confirm maximum range per product spec) with consistent, reliable performance.
✅ Plug-and-Play Installation
No software or driver installation required — just connect your HDMI source and display, run the Ethernet cable, and power up.
✅ Wide Device Compatibility
Works seamlessly with Blu-ray players, gaming consoles, PCs, cable boxes, streaming devices, and displays including 4K TVs, monitors, and projectors.
What's Needed for Setup?
- 1 × HDMI source device (Blu-ray player, PC, gaming console, etc.)
- 1 × HDMI display device (TV, monitor, projector)
- 1 × CAT5e/6/7 Ethernet cable (recommended high-quality for best results)
- 2 x High-speed HDMI cables
- 1 x additional HDMI cable if connecting a local display via HDMI loop out
- Power adapter (included)
- IR blaster and IR receiver cables (included)
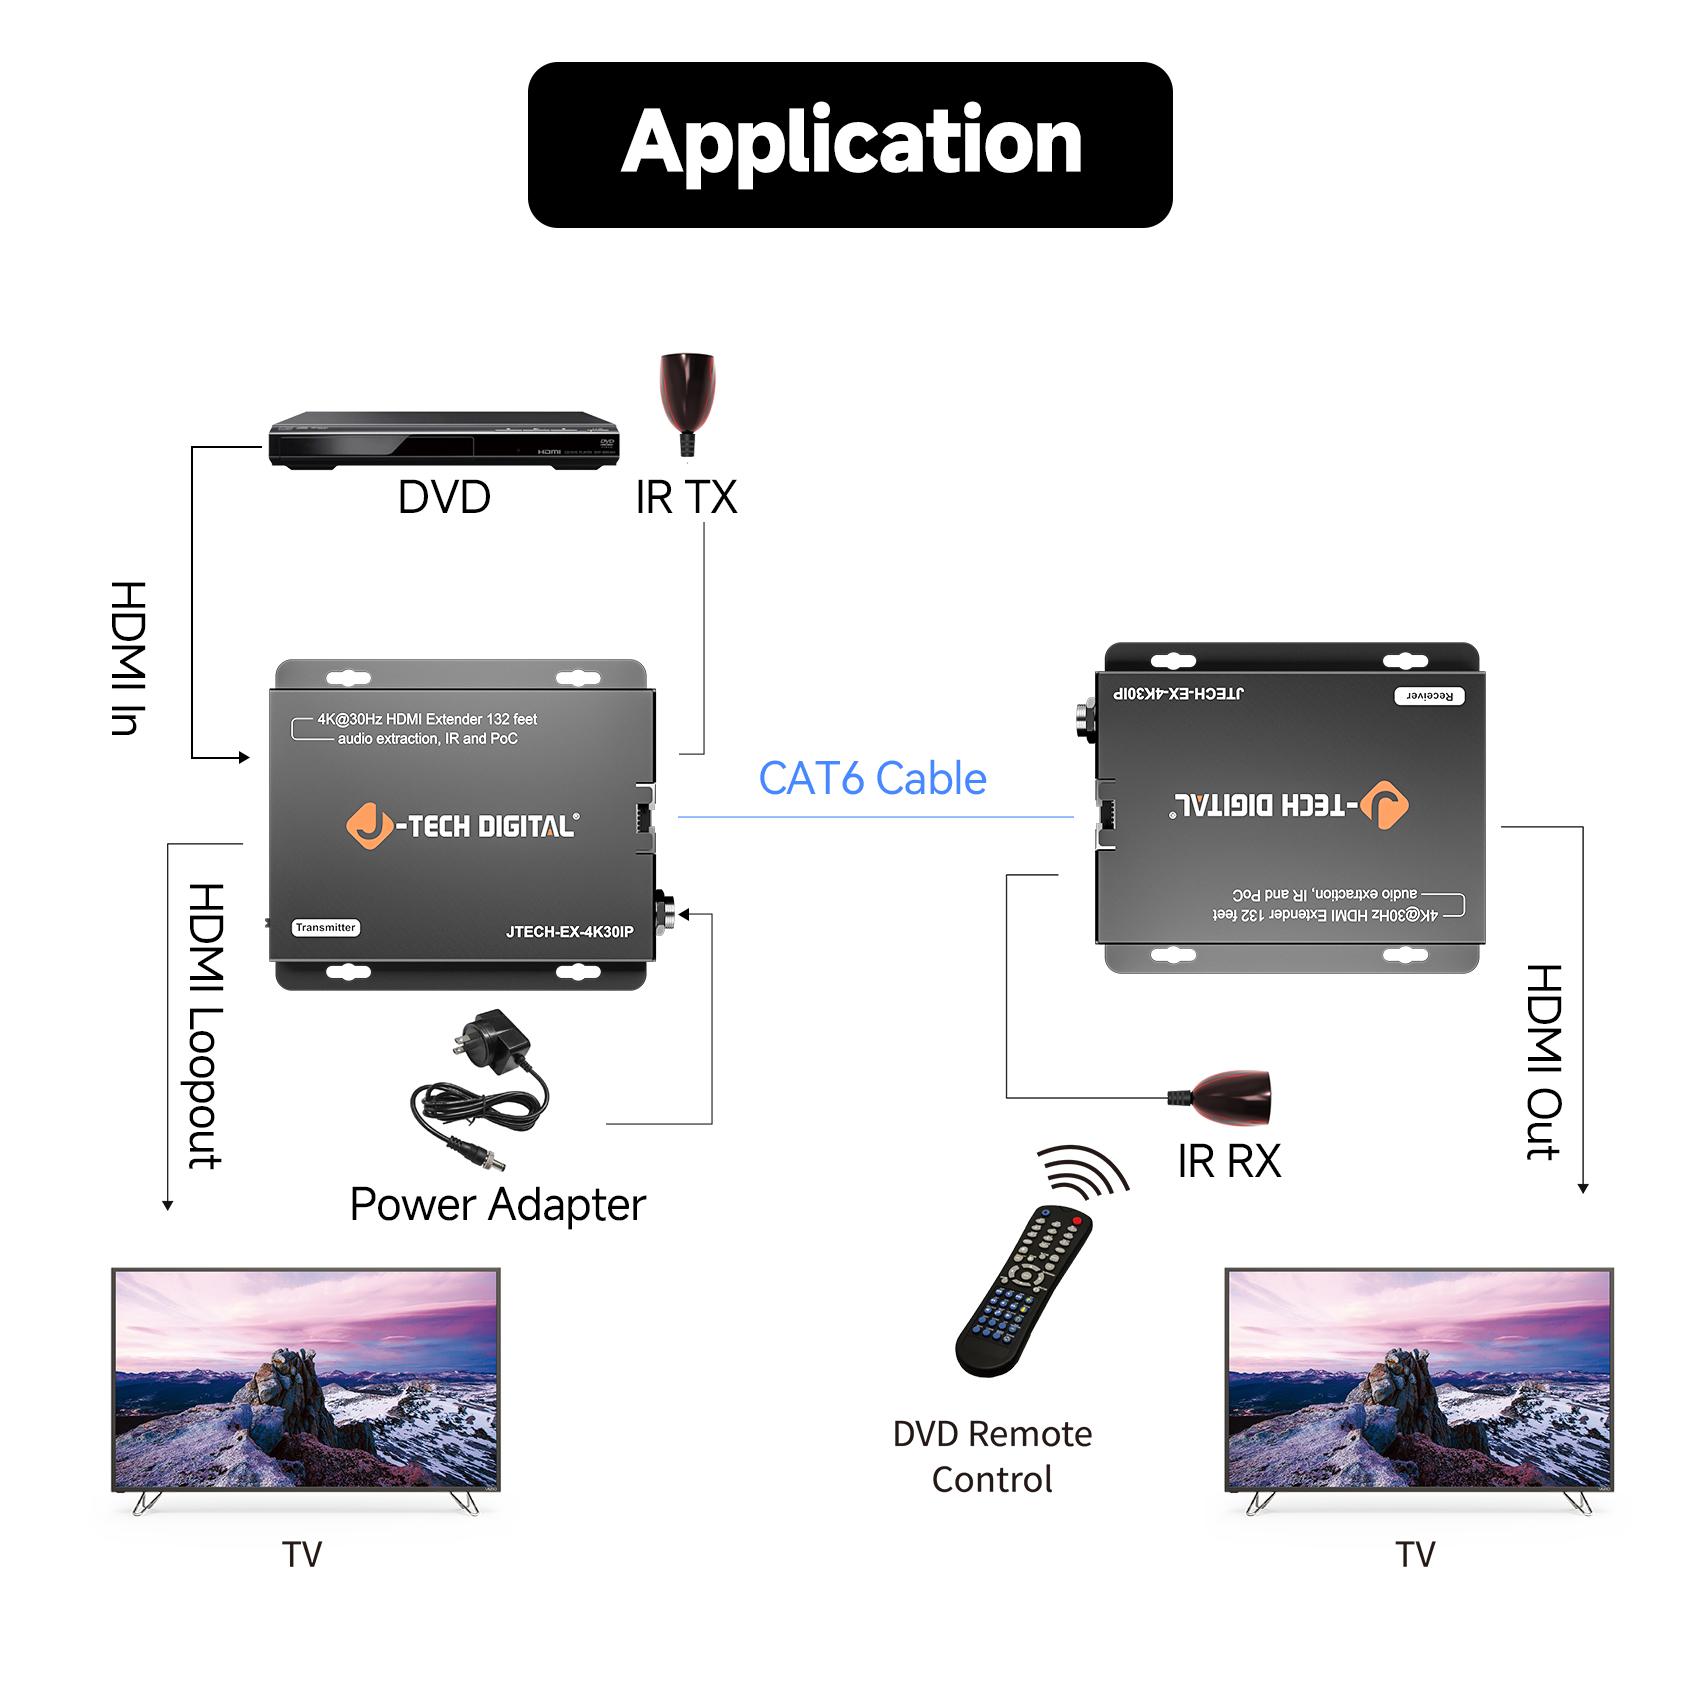
Installation Steps:
1️⃣ Connect the HDMI Source to the Transmitter
- Plug your HDMI cable from the source device (e.g., Blu-ray player, computer) into the HDMI IN port on the transmitter unit.
2️⃣ Connect the HDMI Display to the Receiver
- Plug an HDMI cable from the display device (TV, monitor, projector) into the HDMI OUT port on the receiver unit.
3️⃣ Connect the Transmitter and Receiver with an Ethernet Cable
- Run a CAT5e/6/7 Ethernet cable between the RJ45 ports on the transmitter and receiver.
- Ensure cable length does not exceed the product’s maximum supported distance for optimal performance.
4️⃣ Connect IR Cables (Optional)
- Plug the IR Blaster cable into the IR OUT port on the transmitter and place the emitter near your source device’s IR sensor.
- Plug the IR Receiver cable into the IR IN port on the receiver and position it near your viewing area.
5️⃣ Power the Units
- Connect the included power adapter to either the transmitter or receiver unit (whichever is designated for power input — typically the transmitter if using PoC).
- The other unit will receive power via the Ethernet cable thanks to Power over Cable (PoC).
6️⃣ Power On Devices and Test Signal
- Turn on your source and display devices.
- Verify that video and audio are transmitted properly and check IR remote functionality if connected.
- If using audio extraction, connect your audio output device to the Audio Out port on the receiver as needed.
You should now have a fully operational 4K HDMI over Ethernet extender setup with high-quality video, extracted audio (if desired), IR remote control pass-through, and power delivered via PoC.
Troubleshooting Tips:
If you’re experiencing issues with your HDMI extender setup, try these troubleshooting tips to quickly identify and resolve common problems:
📺 No Video or Intermittent Signal
- Check cable connections: Ensure all HDMI and Ethernet cables are securely connected to the correct ports on both the transmitter and receiver.
- Verify cable quality and length: Use high-quality CAT5e/6/7 Ethernet cables within the recommended maximum length (typically up to 164ft/50m for 4K @ 30Hz).
- Swap HDMI cables: A faulty HDMI cable can cause video loss — test with a different HDMI cable.
- Power cycle devices: Turn off the source, display, and extender units. Wait 10 seconds, then power them back on in this order: source → extender → display.
- Check power adapter: Make sure the included power adapter is properly connected and supplying power. If using PoC, confirm that both units indicate power via their LED indicators.
🔊 No Audio or Audio Dropout
- Confirm audio extraction settings: If using the Audio Out port, make sure the display and/or audio system is set to the correct input.
- Check source device audio settings: Ensure the HDMI source is outputting audio in a compatible format (PCM, stereo, or pass-through depending on setup).
- Replace audio cables: If using external audio connections, test with a known working cable.
📡 IR Control Not Working
- Verify IR cable connections: Confirm the IR Blaster is connected to the IR OUT port on the transmitter and aimed at the source device’s IR sensor.
- Check IR Receiver placement: Ensure the IR Receiver is plugged into the IR IN port on the receiver and positioned where your remote can reach it.
- Test remote batteries: Weak or dead batteries in your remote can prevent proper signal transmission.
⚡ No Power / Extender Not Powering Up
- Check PoC configuration: Ensure the unit designed to receive power via PoC is connected correctly. Only one power adapter should be connected (typically to the transmitter).
- Verify power adapter functionality: Test with a different power outlet or use a multimeter if available to check the adapter’s output.
Call our team at (888) 610-2818 or email us at sales@jtechdigital.com or support@jtechdigital.com for more information!