

(Setup Guide) JTECH-EX2 - 1080P HDMI Extender over Ethernet
- Categories
- Product Guides
- Published
Thorough guide for setting up your JTECH-EX2 wired HDMI extender over ethernet. Easy setup, plug & play
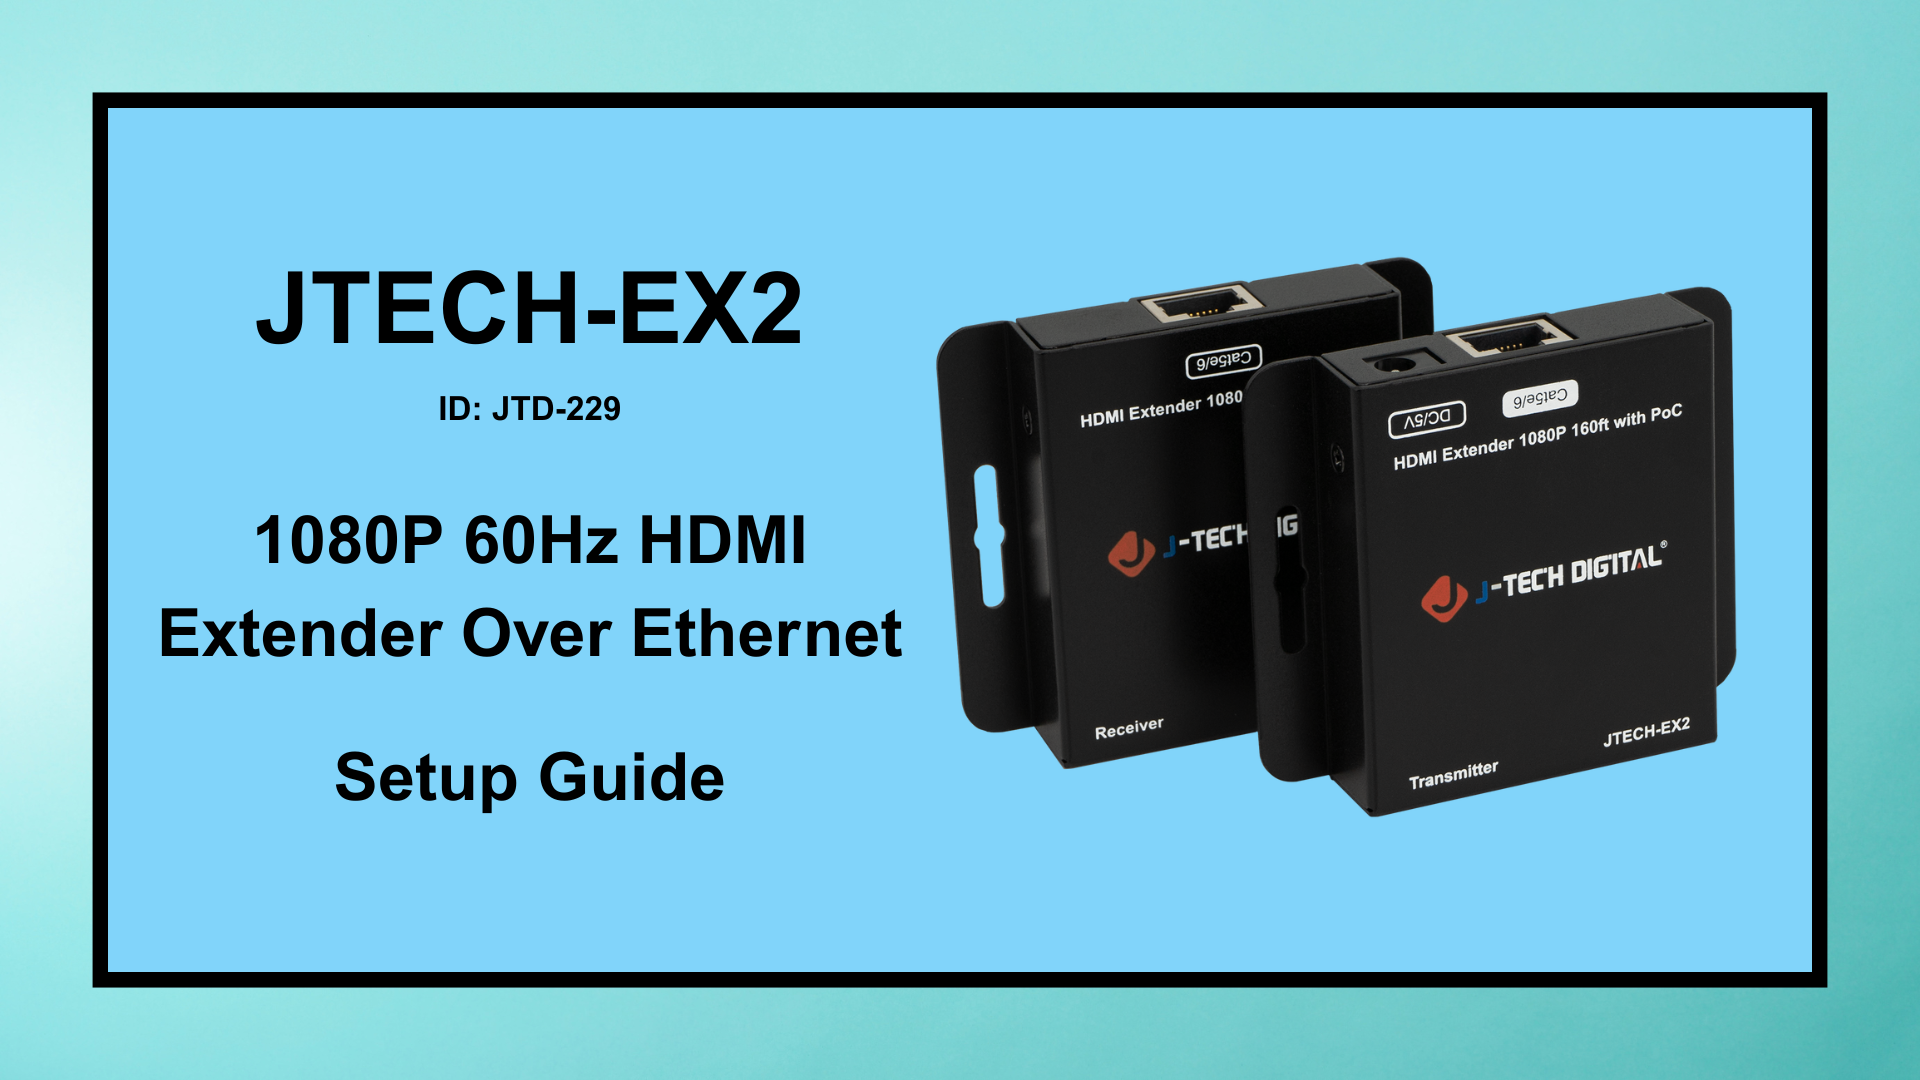
How to Set Up Your J-Tech Digital JTECH-EX2 (JTD-229) HDMI Extender Over Ethernet (160ft).
Product Link:
https://www.jtechdigital.com/products/hdmi-extender-1080p-60hz-hdmi-extender-over-ethernet-with-poc-160ft.
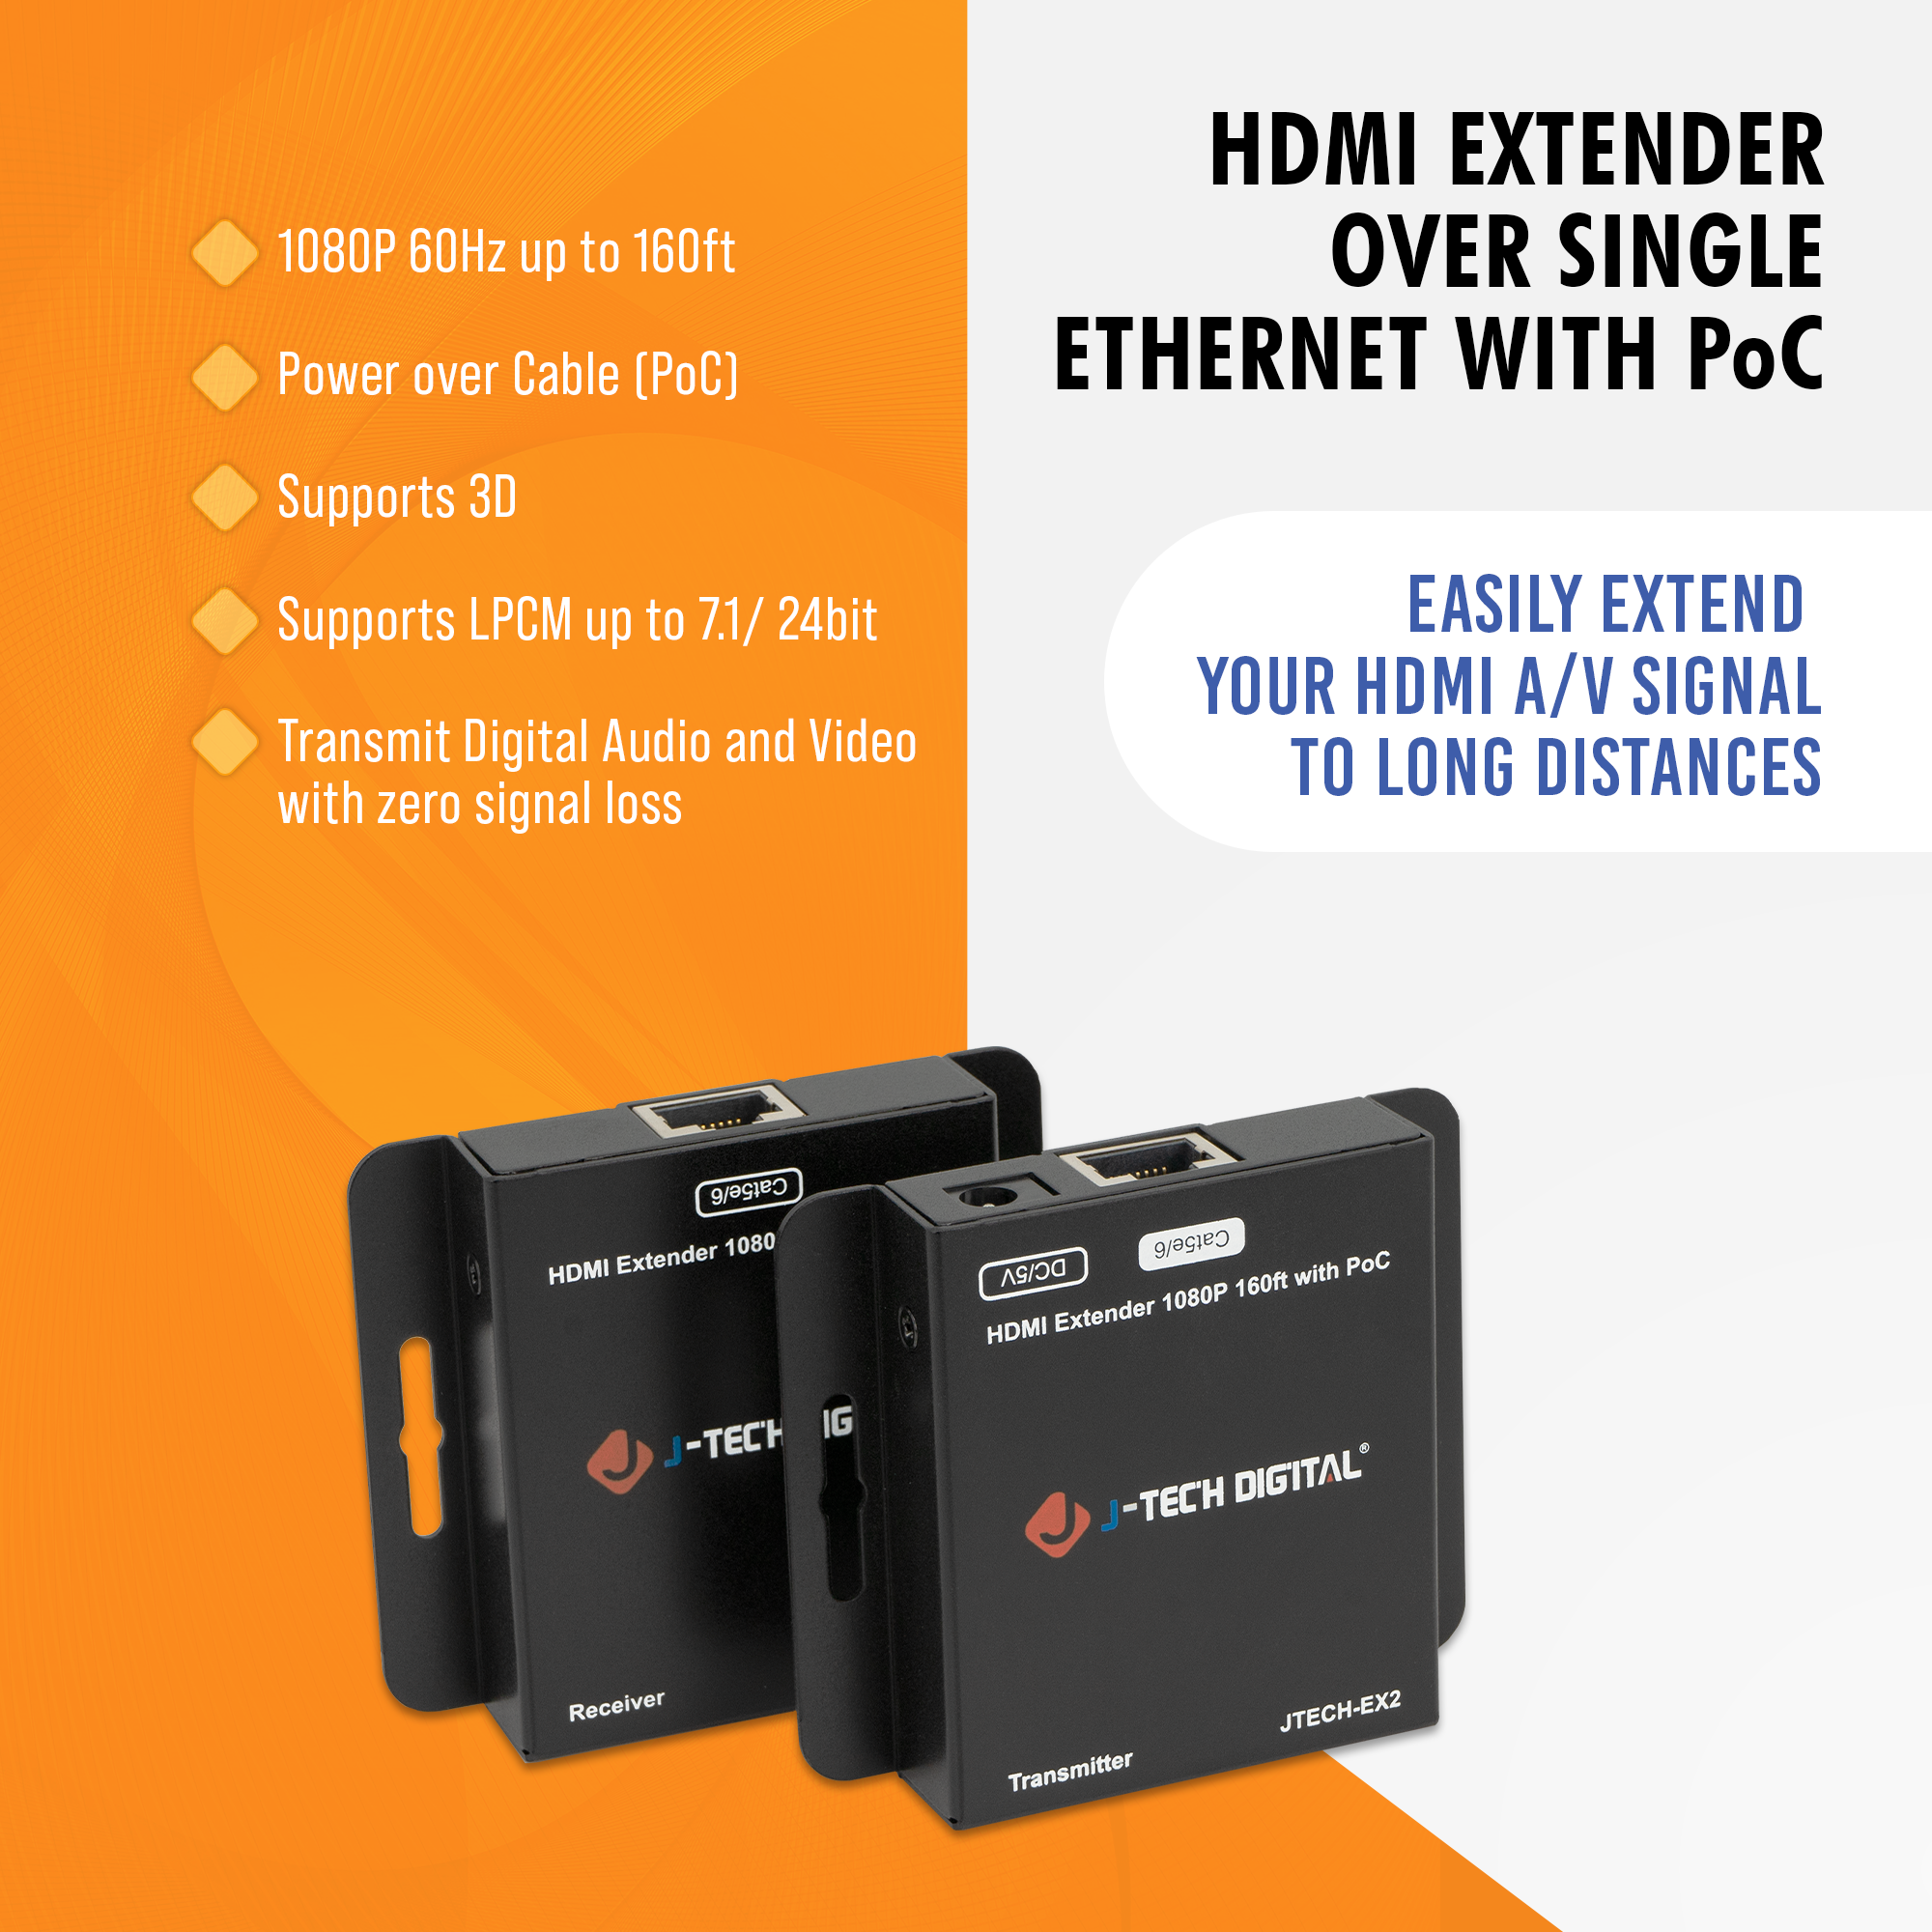
Easily extend your HDMI signal up to 160 feet with the J-Tech Digital HDMI Extender Over Ethernet with PoC. This quick-start guide will walk you through everything you need for a smooth and hassle-free setup — whether you're connecting a home theater, office display, or classroom presentation system.
What’s Needed for Setup:
- J-Tech Digital HDMI Extender Kit (Transmitter + Receiver)
- HDMI Source (Blu-ray player, streaming device, gaming console, etc.)
- HDMI Display (TV, projector, or monitor)
- 2 x HDMI Cables
- 1 x Cat5e/6 Ethernet Cable
Step-by-Step Installation Guide:
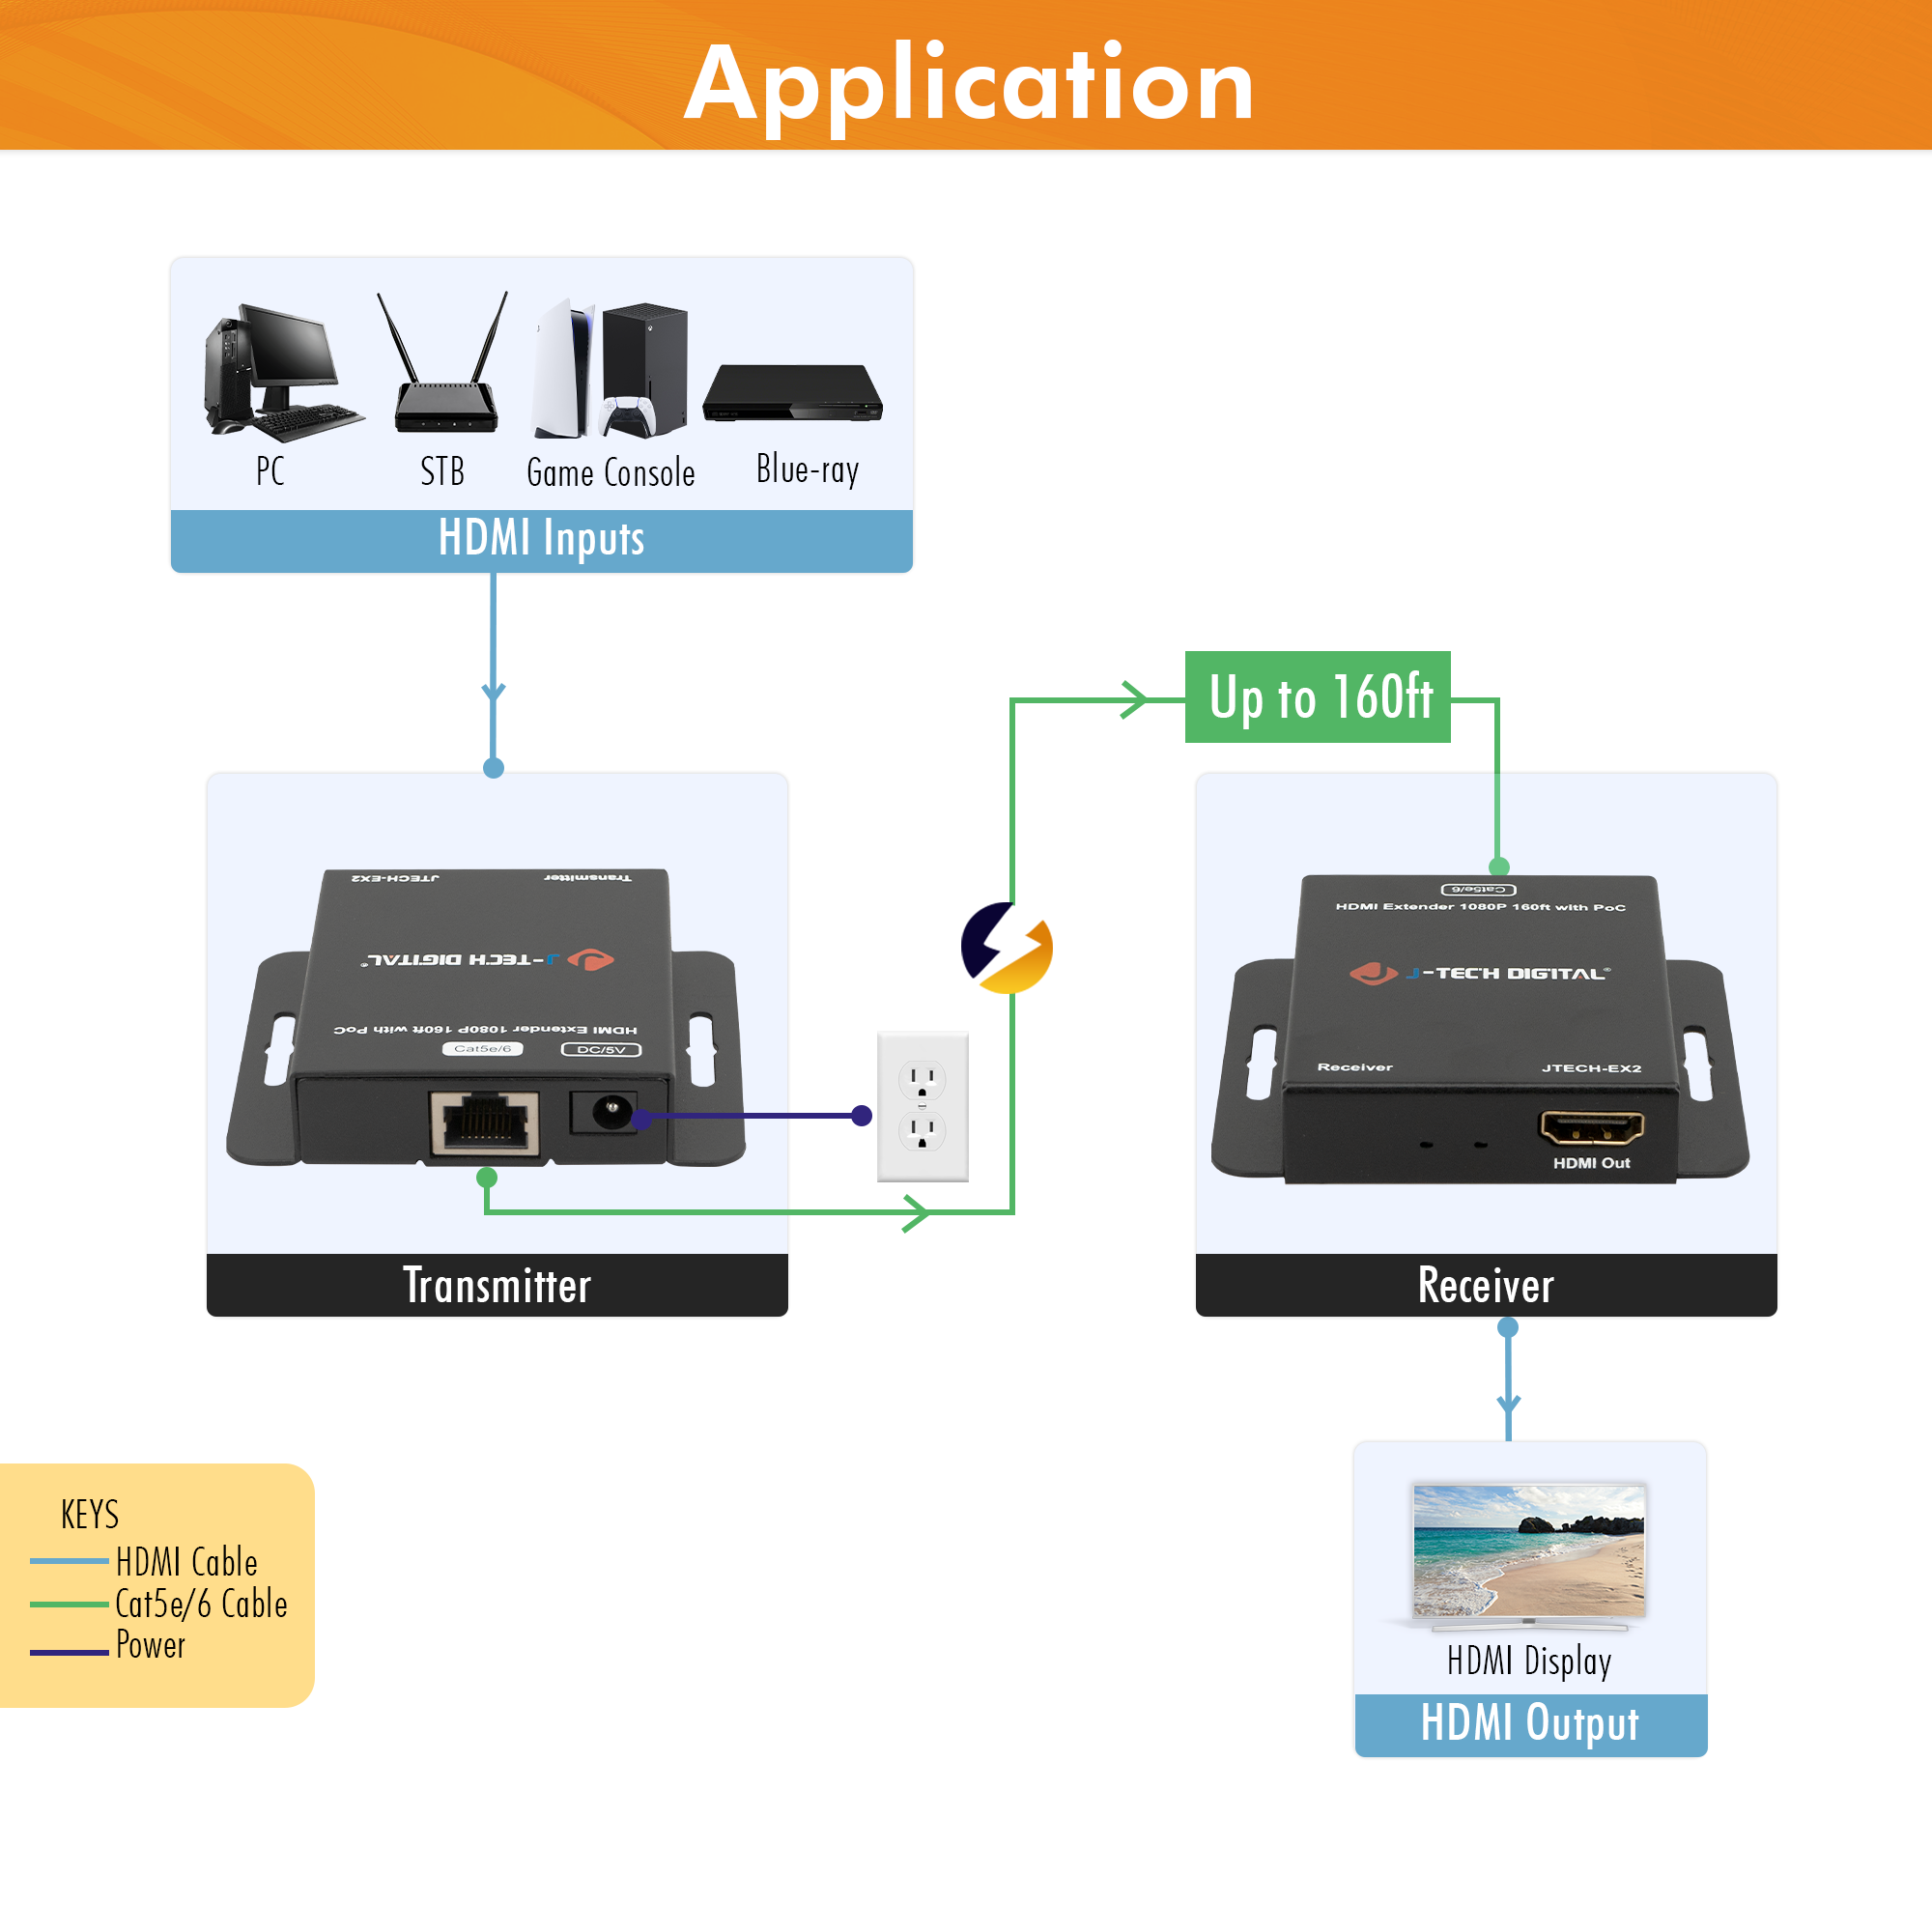
- Connect your HDMI source device to the transmitter's HDMI In port using an HDMI cable
- Attach one end of your ethernet cable to the transmitter's RJ45 port, and the other end of the ethernet cable to the receivers RJ45 port
- The max length of the ethernet cable can be up to 160ft.
- Connect your display to the receiver using an HDMI cable
- Since this HDMI extender kit supports Power over Cable (PoC), the power adapter is required to be plugged in only to the transmitter. The receiver balun will receiver power via the connected ethernet cable
Troubleshooting Tips:
- Double-check all HDMI and Ethernet connections and verify that the cables are working
- Check your source resolution and ensure that it meets the supported standard; 1080P@60Hz or lower
- Ensure that the ethernet cable is within the recommended 160-foot range
- Power cycle both TX and RX units if no signal is detected
If you need additional help, call our team at (888) 610-2818 or email us at support@jtechdigital.com for further assistance.